I’ve spent a lot of my free time 3D modeling and printing over the last year. It’s a ton of fun and I finally think I got into the groove of things over the last couple of months. I know a lot of you want to get into it as well, but don’t know where to get started. In this post, I’ll bring you through how I got started and where I am today.
I started with an UP Plus 2 over a year a go and got some good prints out of it, but I didn’t want to buy one for myself because the accompanying software is really difficult to use and I’ve heard it doesn’t do PLA (a type of plastic) well. I also used the Makerbot Replicator Z18, but that was $6k and I never got a good print out of it. I didn’t go with Printrbot because I wanted something that is plug and play and didn’t require a lot of setup – I spent too many hours trying to configure the Printrbot at work – for home I wanted to get something that just worked out of the box.
I considered a lot of printers that I could buy for my home and finally landed on the Dremel Idea Builder for $899 from Home Depot (It looks like it is $999 now). There are cheaper machines like the Printerbot Simple and the Printerbot Play, but the Dremel comes with great support and Home Depot has a 90 return policy – whereas most online places have 15-30 day return policies and 20% restocking fees. Most of the 3D printer makers have email only support; Dremel has phone support and is very responsive. As an example, when I was setting up my Dremel, the hotend (the metal tip where the plastic comes out) poked a hole into my glass print bed. I emailed Dremel support and they replaced the bed without question.
What you need to get started
You’ll need three things to get started: modeling software, prep software and a printer.
3D Modeling Software – This is the software you’ll use to create your own 3D objects. I recommend Autodesk Fusion 360. It’s a professional parametric modeler that is free to use until you make a profit from using it. I reviewed a bunch of 3D modeling software options in my 7 part blog series and landed on Fusion 360. If you want to start printing now then just go find something at Thingiverse.
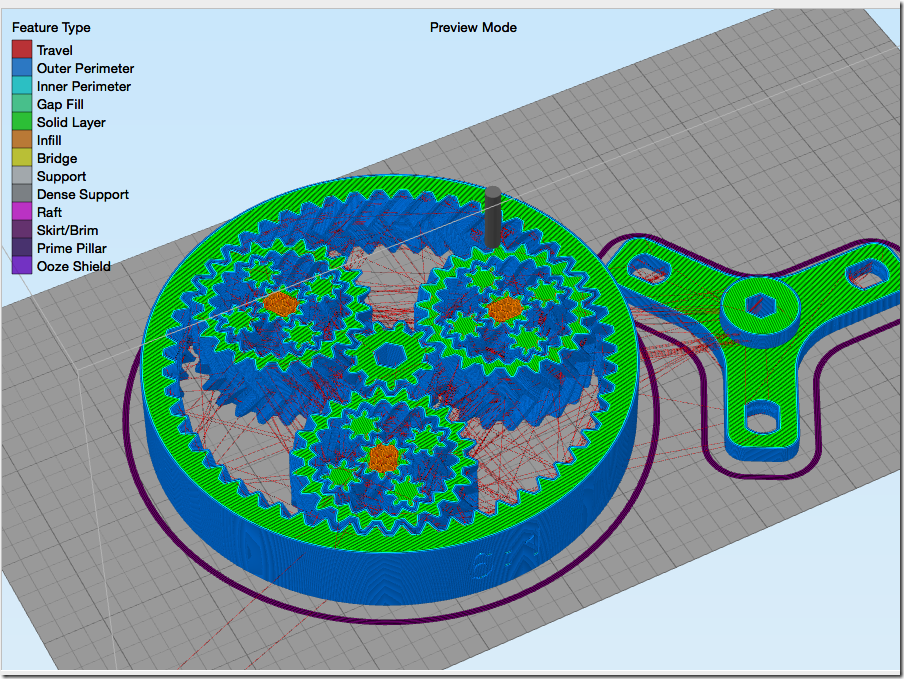
3D Printing Prep Software – This is the software that you’ll use to prepare our 3D objects to print. It will allow you to create rafts, supports and tell it things like how many shells (outside layers) and how much infill (inside density) you want. I recommend buying Simplify3D for $150 – the software that comes with your Dremel is not good enough. It doesn’t support generate rafts and is not configurable enough. I tried Meshmixer and Print Studio, but none of them are as good as Simplify3D. I resisted buying it for a month or so because I didn’t want to spend more money, but I now consider it a must. The supports it creates are amazing and EVERYTHING is configurable.
3D Printer – I recommend the Dremel Ideal Builder for all the reasons I mention above. It’s a great, simple printer that is easy to use and has a decent size print bed. There are less expensive printers out there. I would encourage you to find one that Simplify3D supports. You could also go with the Flashforge Dreamer – which has more features than the Dremel, but doesn’t come with the same level of support and returnability.
My 3D Workflow
**1. Design my object in **Autodesk Fusion 360 or download one from Thingiverse.com or GrabCAD.com
**2. Prep my object for printing in **Simplify3D
**
**
[
3. Print my object with the Dremel Idea Builder

This should be a good enough post to get your started. I’ll post more as I learn more.
Once you get your printer, be sure to check out my Dremel Idea Builder 3D Printing Tips post.
Jon


