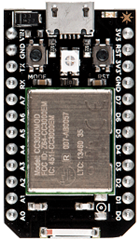
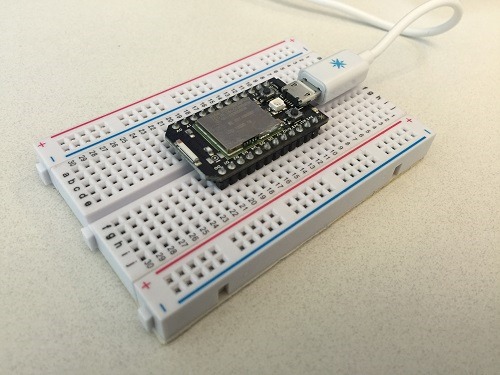
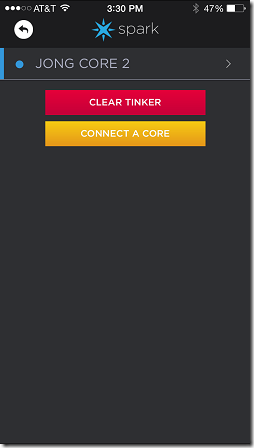
I’ve been building a battery-powered wifi-enabled Lync Status light for the last couple of months. Lots of people have been building the beakn and I did a hackathon class last week, so I thought it would be ideal to have a very simple step-by-step walk through. I’m working on getting the beakn officially manufactured so there are more complex versions available if you are comfortable with soldering. The version below is a great starting point.
The beakn.exe app listens for Lync events and calls the beakn.setStatus function that you just deployed to the Core. Install the latest version of beakn-{version}.msi from http://bit.ly/beakn-client - which was beakn.v0.4.2 as of this post.
The last page of the install will look like this – you will want to keep that “Launch beakn” checkbox checked.
9: Set your Spark settings
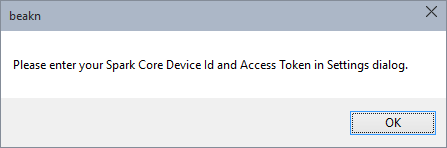
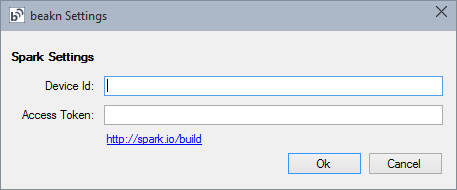
When beakn.exe launches it checks for your Spark Device Id and Access token and if either are not set you will see this:
Click OK and you will see the settings dialog:
Go to https://spark.io/build to find both Device Id and Access token and copy and paste them into this settings dialog.
To get the Device Id, click on the icon that looks like a target, second from bottom
To get the Access Token, click on the icon that looks like gears (standard settings icon)
Copy and paste both of those into the beakn settings dialog and then click Ok.
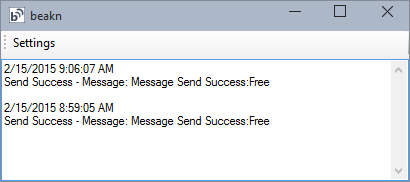
You will now see the beakn dialog that is really just a log of the messages that are being sent to your beakn device.
10: Open Lync and Toggle your status to try it out
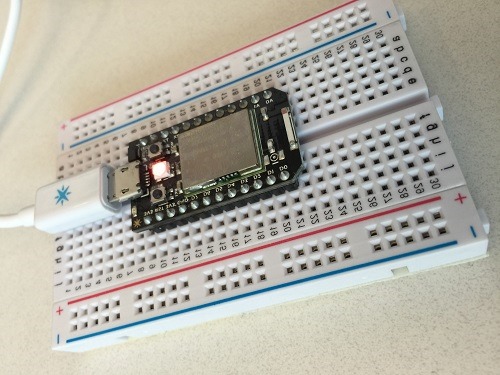
(It’s hard to tell in the photo, but the onboard led changed to red)
You should now be all setup with your beakn. Stay tuned for updates on twitter