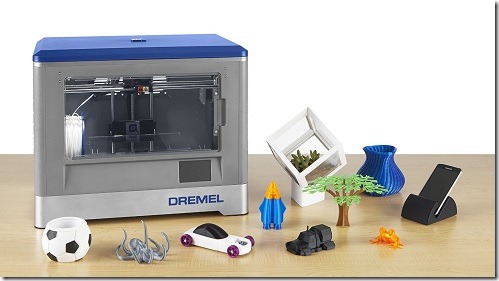
Dremel Idea Builder 3D Priting Tips
 Here are some tips for using the Dremel Idea Builder 3D Printer. I will keep this post updated with new tips as I learn more about the machine. A lot of these tips apply to any 3D printer, so it’s worth a read even if you don’t have the Dremel. See my How to Get Started with 3D Printing on a Thousand Dollar Budget post for details on my 3D printing setup.
Setup tips
1. Make sure the 3 blue wheels are screwed onto the bottom of the build plate. One of my wheels was off when I unboxed it and I didn’t know what it was for. I left it off when I did my first level and that caused the hot-end to poke a hole into the bed. So, screw on all 3 of the wheels and put the bed in the lowest position before you start to level it. Here’s the quick start guide and a video that shows you how to level it. Here’s another video from Dremel that is good:
2. Make sure the printer is on a stable and level surface. I have mine on a window sill that is very stable.
3. Connect the printer to your computer via USB so you don’t have to keep moving an SD card from your computer to your printer.
Printing tips
1. Whenever you switch filaments, make sure you run the LOAD process twice. You want to see the new filament come through the hotend for a couple of seconds before you start your next print. If you don’t do this, then the extruder won’t be primed enough; your next print won’t have enough filament to get started.
2. Clean the bed with rubbing alcohol before each print. This will help the print stick to the bed and will remove any residue from the previous print. Just put a double folded paper towel on the bottle and turn the bottle over once or twice, then wipe the bed with it. Make sure it is dry before you start the print.
3. Not all prints will stick to the bed. Make sure you watch the first couple of layers print before leaving it alone to print the rest of it. If those first couple of layers don’t print then the rest of the print won’t have anything to stick to.
4. Besure to let enough plastic extrude through the hotend when switching plastic. If you don’t then your first print with your new plastic won’t stick to the bed.
5. Print with a skirt to get an early indication if the print is going to be a good one or not.
6. Level your bed before you print, especially on a longer print.
7. Level with a cold hotend (if you can). The distance between your hotend and bed will change based on the hotend temp.
8. Get a thin paint scraper tool to help you remove the print from the bed. I prefer that over printing a raft and then trying to separate the raft from the print. Becareful not to gough the print bed tape.
9. Get some wire cutters to cut the filament and some needle nose plyers to remove support material.
10. When unloading filament don’t pull up too hard. If you are having trouble getting the filament out of the extruder, just push down on the filament, into the extruder, to heat up the end and then pull up. That will melt any rough edges and it should come right out.
Jon