Power BI Custom Visual Tip: How to Render an SVG or PNG
Here’s how to render either an SVG or a PNG from within a Power BI Custom Visual. For this post, I’m going to use the IoT Hub icon that can be found in the Microsoft Azure, Cloud and Enterprise Symbol / Icon Set. Download that now if you want to follow along.
If you get lost in this post, please see my Custom Visual series here: http://bit.ly/pbicustomviz
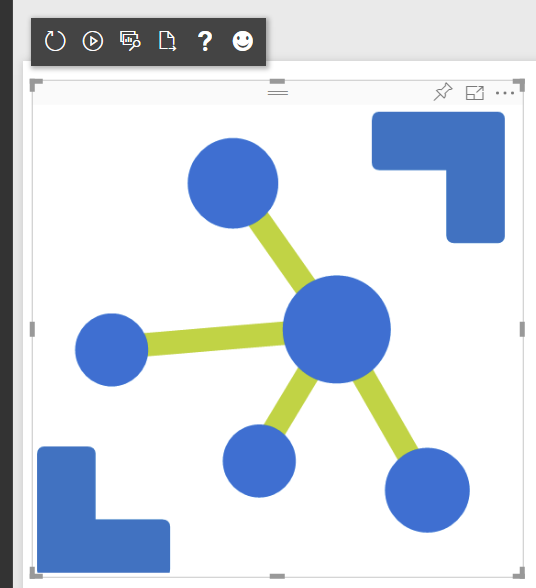
Here’s the icon:
[
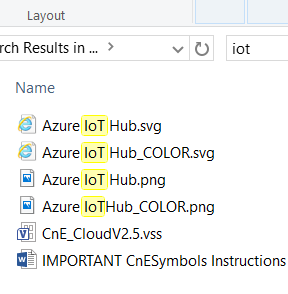
You can find it by searching for “iot” in Windows Explorer.
The working code for this post can be found here: https://gist.github.com/jongio/aba10a2fd9ef88fd5ebb2141dcf310e6
SVG
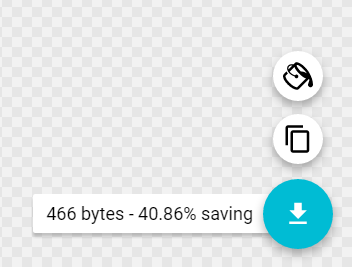
If you open up the file “Azure IoT Hub_Color.svg”, you’ll see the raw SVG code used to render that image. It is verbose, has line breaks and other characters that we don’t need. I used SVGOMG to minimize it. Go to the SVGOMG site, open the SVG and click the download button. In the lower right
Open the optimized version and paste it into a variable in your Custom Visual like this:
Then append the SVG to the DOM inside of your Custom Visual’s constructor method like this:
You could also create the element with jQuery if you have that referenced.
Run the visual using “pbiviz start” and you should now see the SVG version of the image
PNG
To reference a PNG, you have to encode it and reference as a background image in CSS. I chose base64 for this post, but other encodings should work as well.
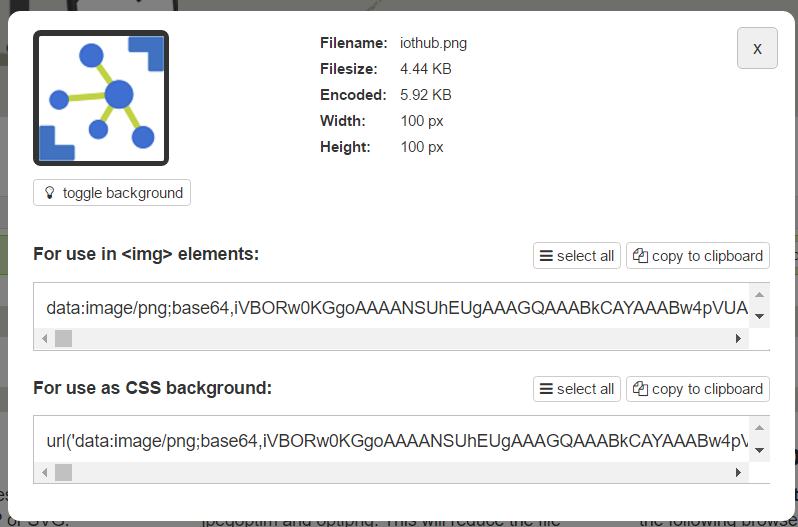
Find the Azure IoTHub_Color.png file from the icon set and use a site like Base64 Image Encoder to get the base64 encoding of it. Just upload the image, click “show code” and copy the “For use as CSS Background” code:
In your Custom Visual project, open style/visual.less and create a new style like this:
Open, src/visual.ts and add the following to the constructor
You could also create the element with jQuery if you have that referenced.
Run your visual and you should now see it render on Power BI.
See free to tweak the dimensions to suit your needs.
Jon