How to Organize Photos by EXIF Date Taken with PowerShell
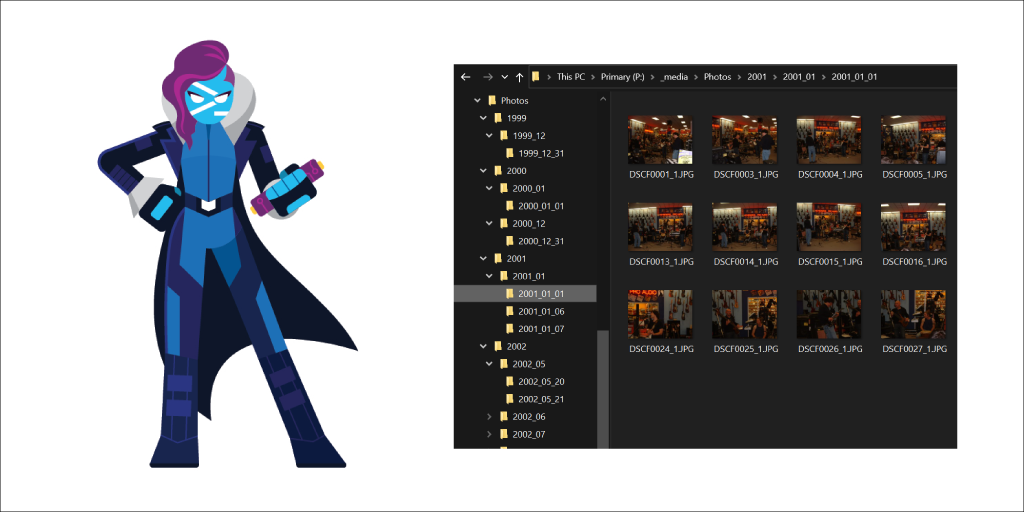
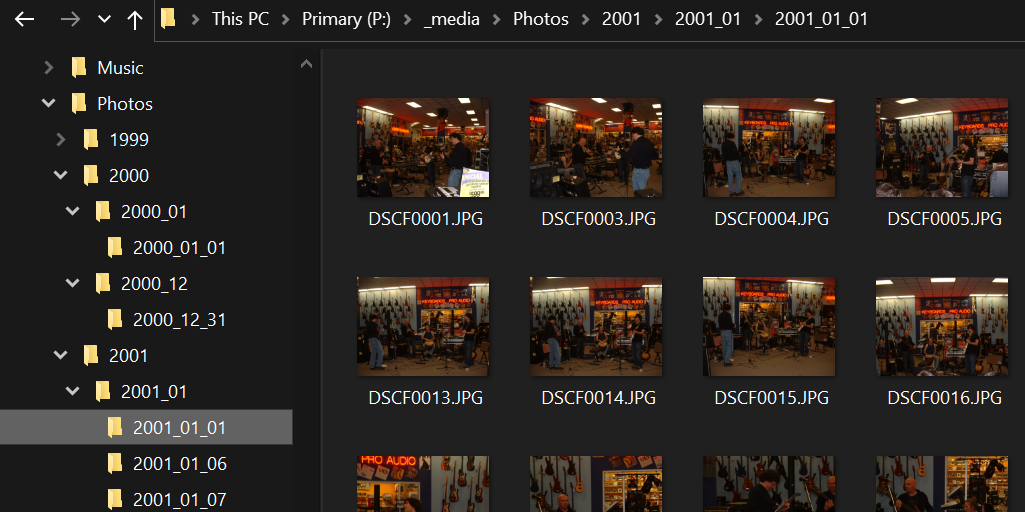
I recently decided to organize all of my photos from the last 20 years. Photos from various phones and cameras - all with many different formats, JPEG, RAW, PNG, etc. They were all stored on my hard drive, but in random folders with random names. I wanted to get them organized in folders by date taken like so:
Year -> Month -> Day
I scoured the internet looking for apps and tools to help me do this and I tried a bunch of them, but none of them supported getting the EXIF “Date Taken” date and other dates from all the various formats.
So, I wrote my own script. Which you will find below.
Here’s what it does.
- Loops through each file in the source directory looking for a date to use
- If file has EXIF Data Taken, then it uses that
- If it doesn’t, then it finds all properties that have “date” or “created” in them and uses the oldest date.
- If the source file and destination file have the exact same path, then it skips that file.
- If the destination directory already has a file with the same name, then it renames the file.
- Moves the file from the source directory to the destination directory.
Here’s the script:
To run it:
- Download the script
- Open PowerShell, I’m using PowerShell 7.1
- Run script like so:
.\PhotoOrganizer.ps1 -source "P:\_media\Photos" -dest "P:\_media\Photos"
```csharp
The source and dest can be the same directory or different directories. If the same then it will rename in place. If different then it will move all files to the new location.
By default it uses the following folder structure to move folders to:
```bash
"yyyy/yyyy_MM/yyyy_MM_dd"
Which looks like this:
You can change that by using the -format parameter, which uses the standard time time format strings found here: Custom date and time format strings
Remove Duplicate Files
I also researched a bunch of options to remove duplicate files based on the file content (i.e. same photo with a different name) and decided to use “SearchMyFiles” from NirSoft instead of create my own script.
Here’s how to use it.
Select “Duplicates Search” as the search mode:
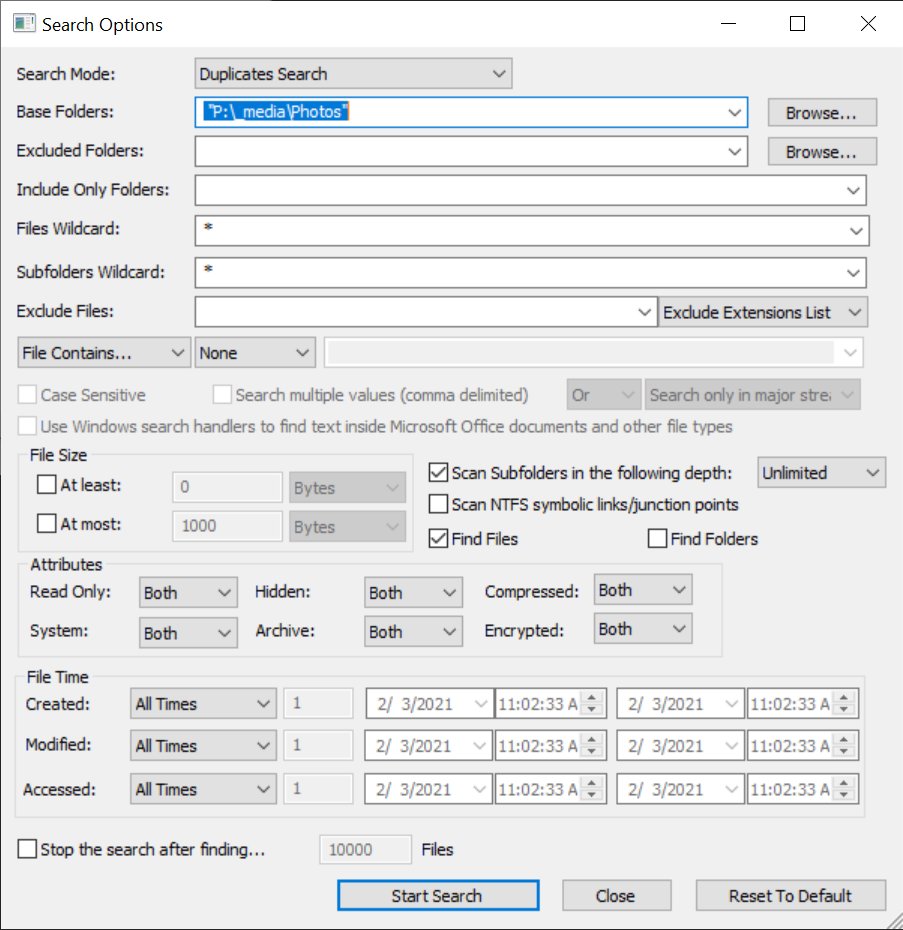
Enter the folder, mine is P:_media\Photos
Then Start Search.
It will take a while, depending on how many photos you have.
Once complete it will display all the files that are duplicated.
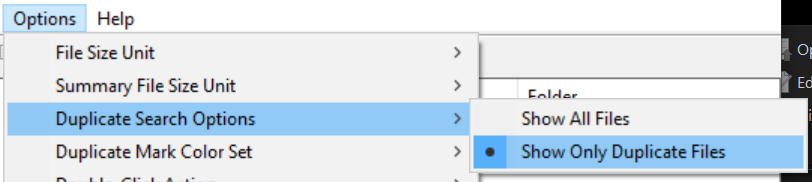
IMPORTANT: Before you delete, make sure you go to Options -> Duplicate Search Options -> Show Only Duplicate Files. It’s also a good idea to make sure they are backed up somewhere, just in case you accidentally delete something you need to recover. I use Backblaze
You then just select them all, right click and choose “Delete Selected Files”.
Jon
Share on LinkedIn
Quick Share: Your custom post text has been copied to your clipboard! Click the button below to open LinkedIn's share dialog, then paste it.
💡 Tip: LinkedIn will open in a new tab. Use Ctrl+V (or Cmd+V on Mac) to paste your text.
Note: LinkedIn will show the article preview. You can add your custom text above it.