Here are some short and sweet instructions for setting up your Raspberry Pi for Node.js dev and creating a base image that can be used over and over again. Many of the steps below are taken from the amazing DaveJ posts. I’ve also added a few steps that I like to do as well.
0. Choose your SD Card size wisely
IMPORTANT: Make sure you use an SD card that is smaller than your target SD card or else you won’t be able to copy this image to it later.
For example, I’m doing this on an 8GB card for my base image, but will use 32GB cards for instances of this base image. You could use 32GB for both, but you’ll have to figure out how to shrink the image, which just adds time to things and isn’t easy on Windows.
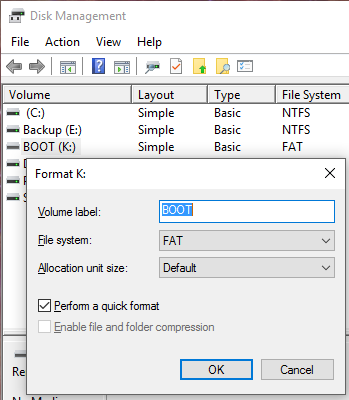
1. Format SD Card using Windows Disk Management
This step is optional, but probably a good thing to do so you know you are starting off with a clean SD Card.
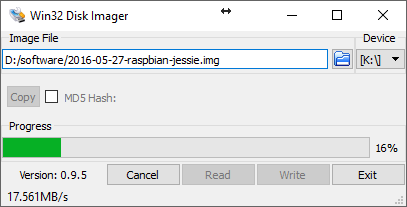
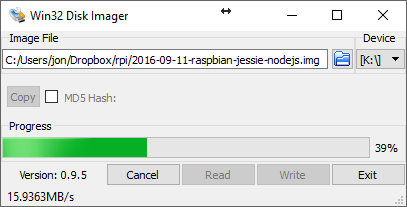
2. Flash Raspbian to SD Card using Win32 Disk Imager
- Download Raspbian Image: https://www.raspberrypi.org/downloads/raspbian/
- Download Win32 Disk Imager: https://sourceforge.net/projects/win32diskimager/
- Flash Image to SD Card
3. Insert Card in Raspberry Pi and Power On
4. Setup Wifi
Click on Wifi icon in top right. Select your network.
5. Install Raspbian Updates
6. Enable Remote Access
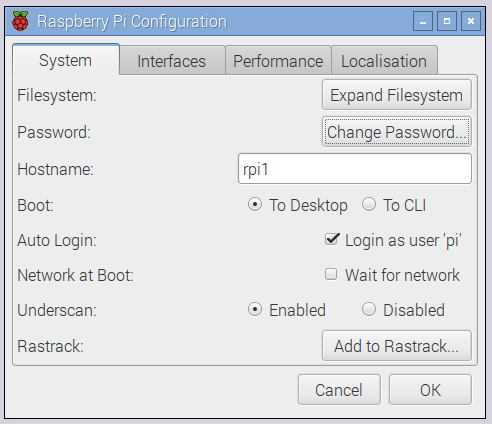
6.5 Rename your PI
Give it a unique name in Raspberry Pi Config - do this now or you will have issues later.
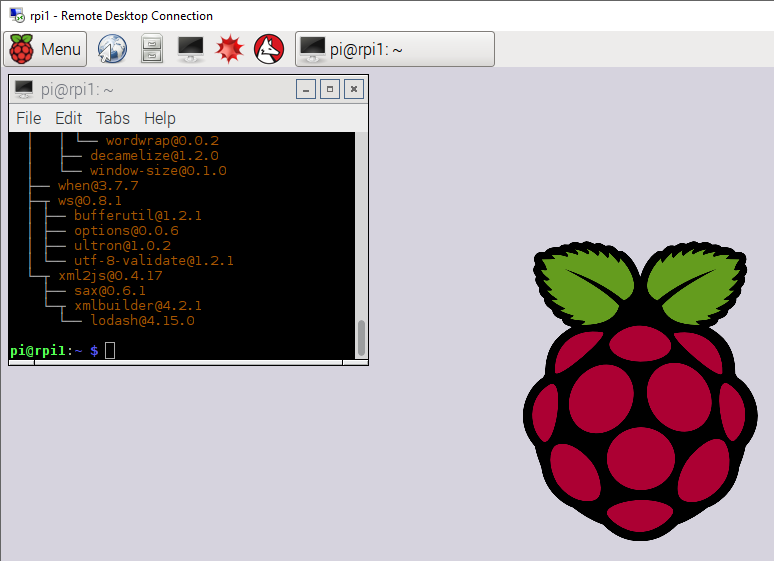
7. Login to Pi from Windows
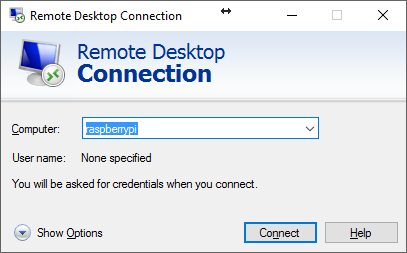
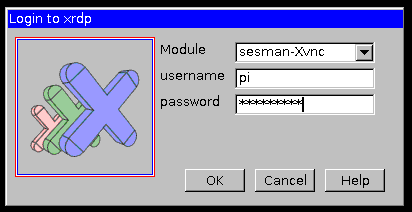
username: pi
password: raspberry
7. Configuration
System:
- Click Expand Filesystem
- Change Password
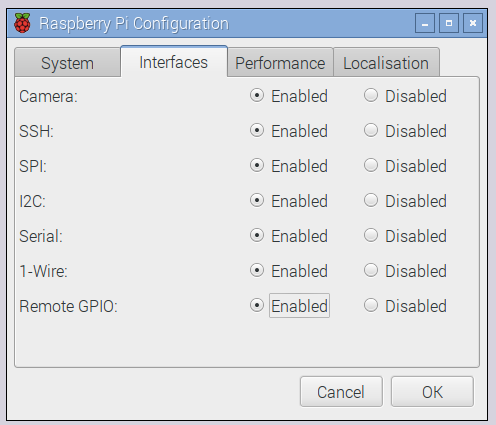
Interfaces:
- Enable All Interfaces
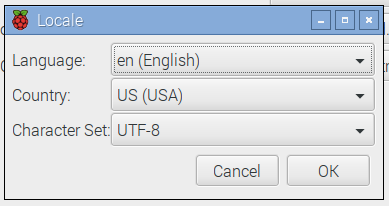
Localisation:
- Set Locale
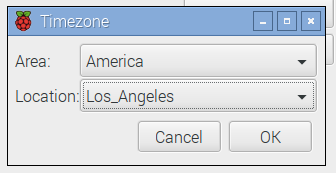
- Set Timezone
- Set Keyboard. Not sure why, but I had to set keyboard on the device itself. The dialog wouldn’t popup over xrdp. I set to US.
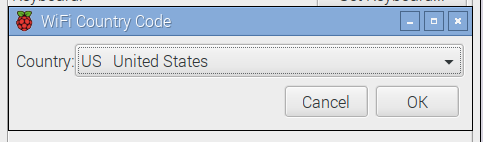
- Set Wifi Country
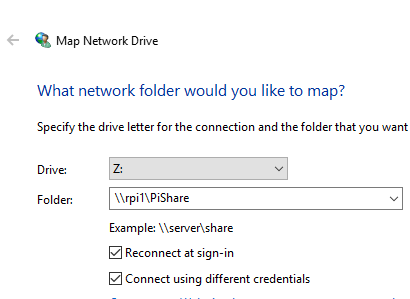
8. Setup Windows File Share
Run to set a file share and password for samba that you will use to connect via Windows.
Map Network Drive to \rpi1\PiShare
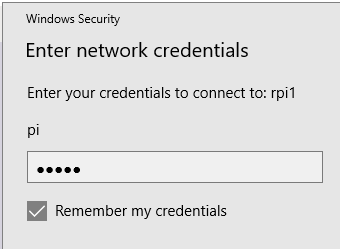
Enter Creds
Create a directory called “code” to put your code in.

9. Install Node.js
10. Configure npm to run without sudo
This moves your npm global node_modules folder to /home/pi/.npm-packages/lib/ and allows you to install packages without using “sudo”
- Hit enter when it asks you for home directory
- Type “y” and hit enter when it asks you to update bashrc/zshrc files
11. Install Packages
Here are the packages I need at the moment. Yours will be different. Remove/add as you see fit. Ignore any node-gyp issues.
12. Configure Packages
The “noble” package doesn’t run without “sudo” by default. Here’s how to configure to allow you to run without sudo. Instructions from here. You don’t need to do this step if you don’t install noble.
13. Create Raspberry Pi Base Image
Now that you have all the settings the way you want them, you can use Win32 Disk Imager to write it to disk, so you can use this as a base image for future Raspberry Pis.
IMPORTANT: Make sure you use an SD card that is smaller than your target SD card or else you won’t be able to copy this image to it later.