How to Setup a Particle Photon with Node.js
Here’s a quick post to show you how to get your Particle Photon setup with Node.js. I also have instructions for doing so with PuTTY here.
Put Photon in Listening Mode
1. Plug Photon into your computer’s USB port.
2. Is your Photon flashing blue? If so, move on to next step. If not, then hold down the Setup button until the LED flashes blue. If you can’t get it to flash blue then hit the Reset key and try again.
Create Particle Account
1\. Create a [new Particle Account here](https://build.particle.io/signup) or use one that you already have.
Setup Node
1\. Install [Node.js](https://nodejs.org/). Make sure you include Node.js in your PATH during install.
2. Install the particle-cli Node.js package. Open a command prompt
npm install -g particle-cli
```markdown
## Connect Photon to WiFi Network
1\. Enter the following command into the command prompt and enter your WiFi SSID and Password
```bash
particle setup wifi
```markdown
If all goes well, you will see a message that looks like this:
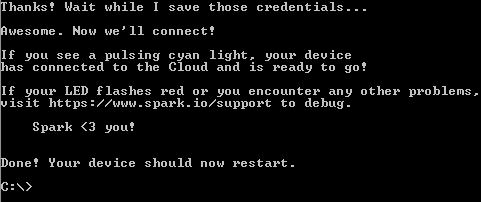
If your Photon is not pulsing cyan (aka breathing cyan) then try this step over again.
## Get Photon Id
1\. Enter the following command into the command prompt
```bash
particle identify
```markdown
That will print out your Photon’s unique id to the console.
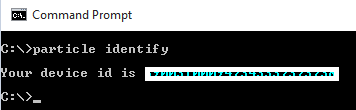
You will need that later, so copy it over into Notepad.
## Login to Particle
1\. Enter the following command into the command prompt
```bash
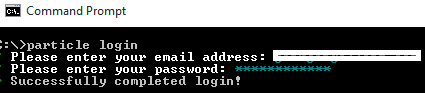
particle login
```markdown
It will prompt you to enter your Particle account email and password. Please do so.
## Add Photon to your Particle Account
Your Photon must be breathing cyan before you attempt this step. If it isn’t, then follow the WiFi steps above.
1\. Enter the following command into the command prompt
```bash
particle device add [your photon id from above]
```markdown
If all goes well you will see a message like this:

## Get Particle Access Token
You will need an access token to call any of the Particle APIs.
1\. Execute the following command into the command prompt
```bash
particle token list2. Enter your credentials and find the token that doesn’t have an expiration date:

3. Copy that access token to Notepad. You’ll need it later when you call the Particle APIs.
Next
That’s how you get your Photon setup with Windows using Node.js
From here, you can deploy your own app to your Photon or try building my [“Skype for Business Status Light”](/beakn-skype-particle-photon/)
Make on!
Jon