How to Get Started with Azure IoT Hub and a UWP App
Here’s a quick post on how to get setup with Azure IoT Hub with a UWP App. These steps and code taken from Olivier Bloch’s Build Talk:
1. Create a new Azure IoT Hub – Free Tier – in Azure Portal https://portal.azure.com

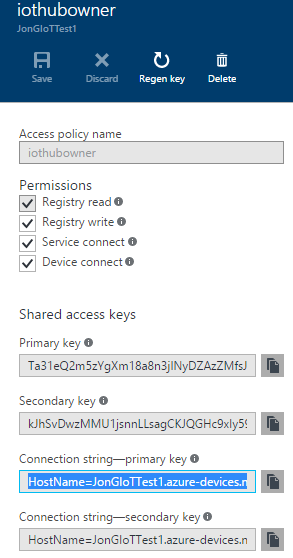
Once that is created, grab the “iothubowner” connection string – primary key value. (Click Settings –> Shared Access Policies –> iothubowner)
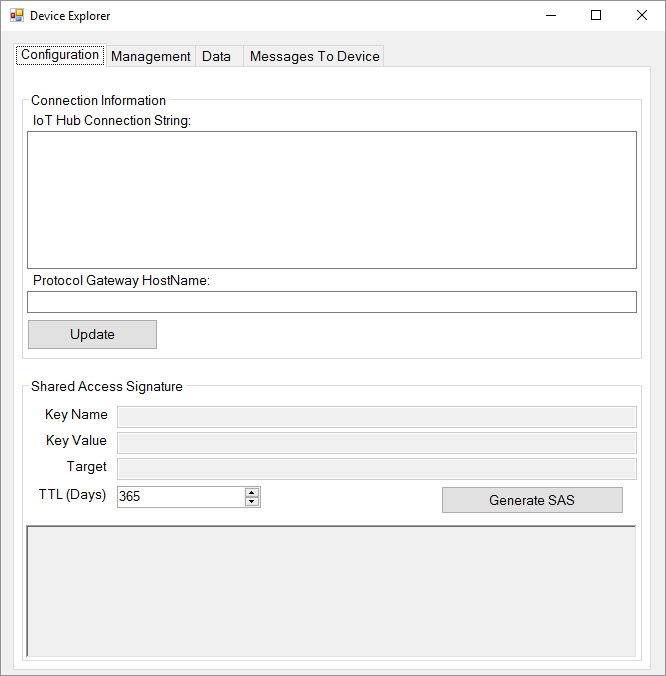
2. Install the Azure IoT Hub Device Explorer Windows app – you’ll use this to view and send messages that come and go through the IoT Hub.
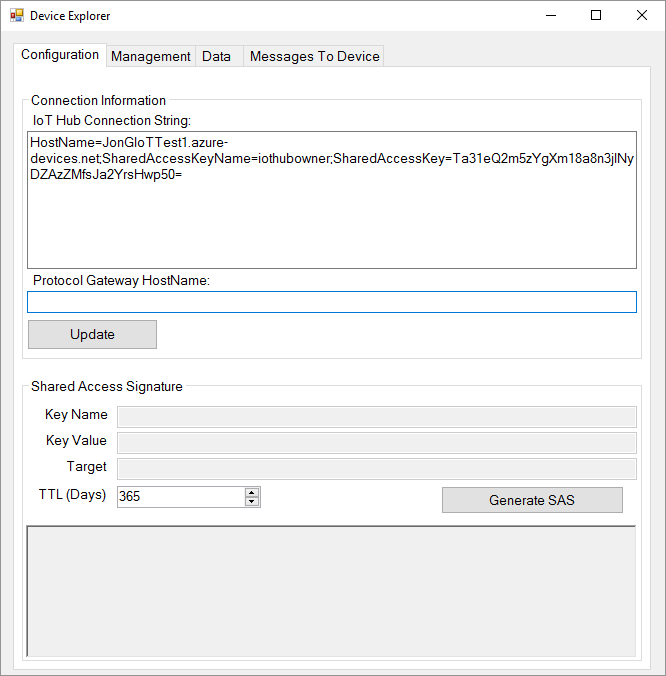
Enter the iothubowner connection string from the last step and click update.
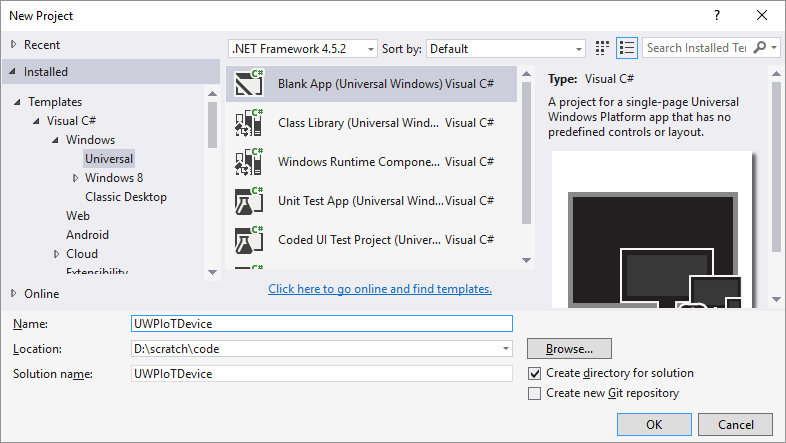
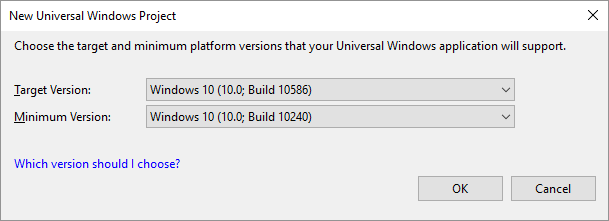
3. In VS2015, create a new UWP app
Click OK here:
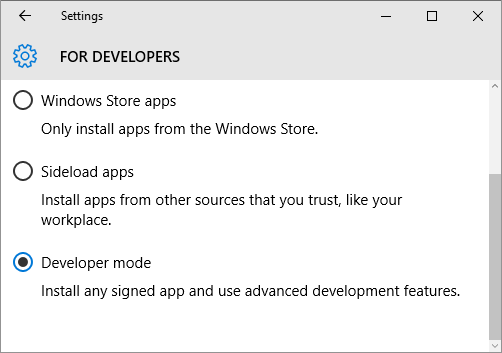
Enable Developer Mode if prompted to do so.

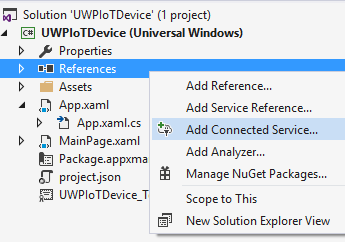
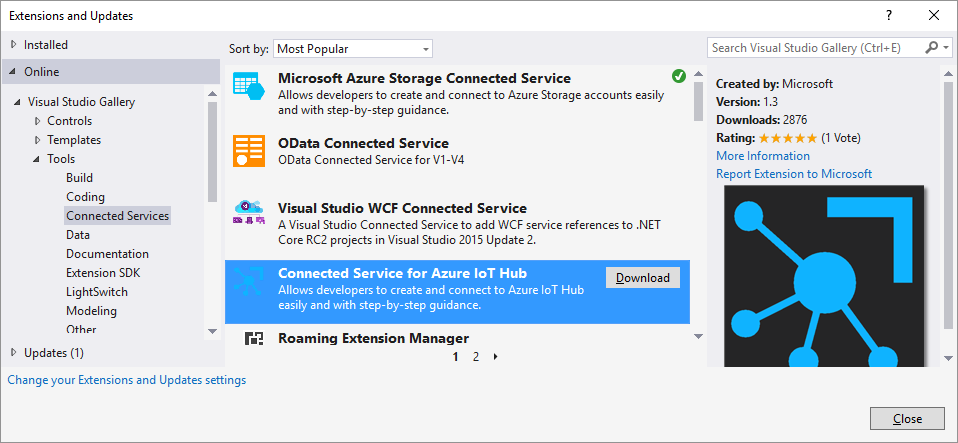
3. Add a connection to your IoT Hub via References –> Add Connected Service
Click “Find more services…” at the bottom.
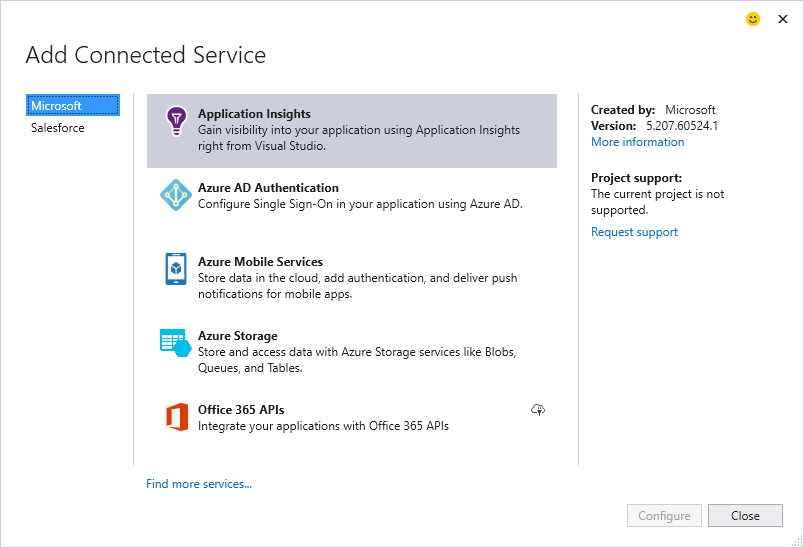
Find “Connected Service for Azure IoT Hub” and install it.
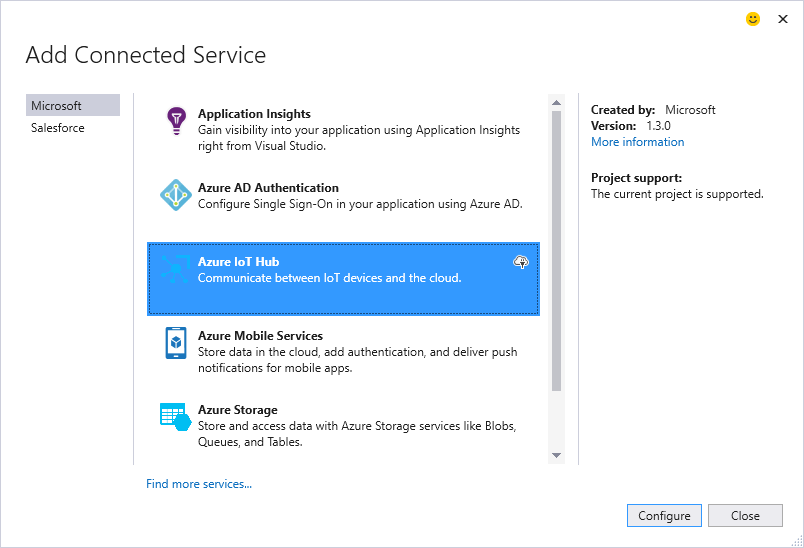
You should now see “Azure IoT Hub”
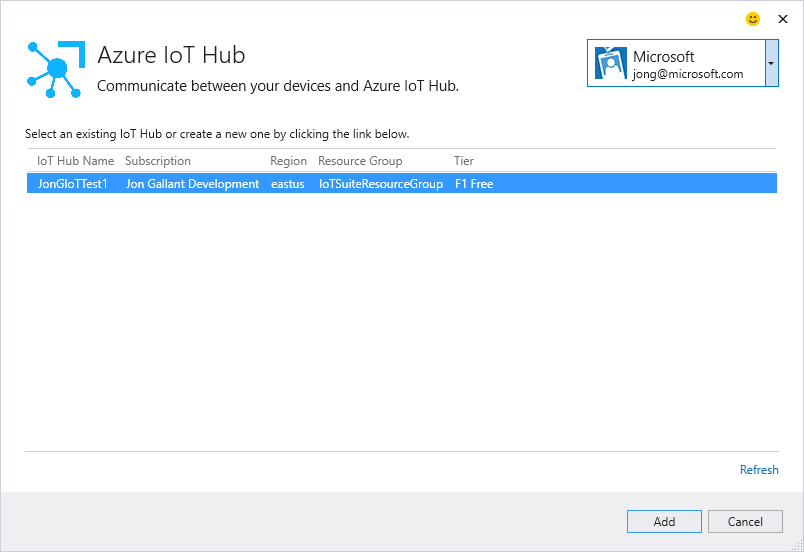
Sign-in and find your IoT Hub instance you created earlier.
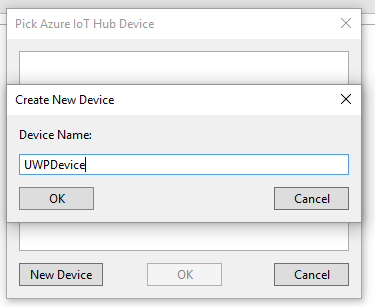
Add a new Device.
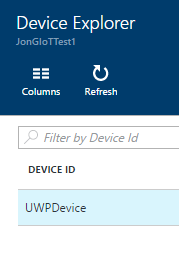
Once you make that connection, you will now see the device in the Device Explorer Management tab and the Azure Portal Devices blade.
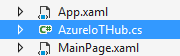
The Connected Service will add an AzureIoTHub file to your project. It has helper methods for sending and receiving IoT Hub messages.
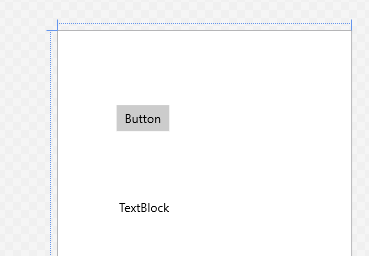
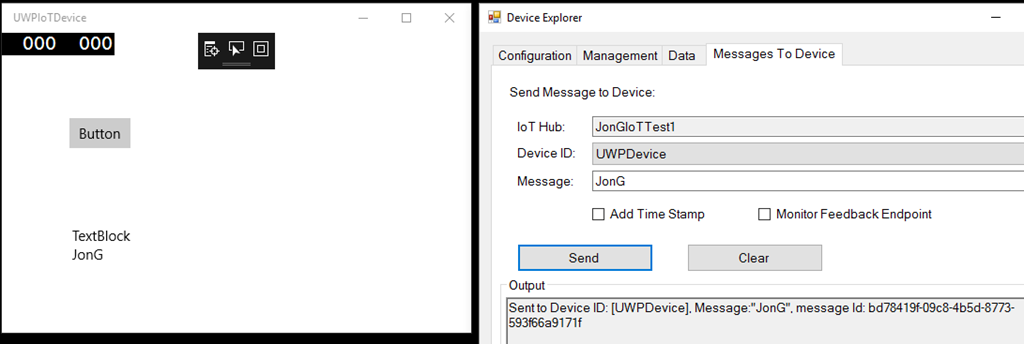
Open up MainPage.xml and drop a button and textblock onto the design surface.
Open MainPage.xml.cs and add this code – receive and send messages to the IoT Hub vai the AzureIoTHub helper.
public MainPage(){     this.InitializeComponent();
    Task.Run(         async () => {             while (true) {                 var message = await AzureIoTHub.ReceiveCloudToDeviceMessageAsync();                 await CoreApplication.MainView.CoreWindow.Dispatcher.RunAsync(CoreDispatcherPriority.High, () => {                     textBlock.Text += Environment.NewLine + message;                 });             }         }         );}
private void button_Click(object sender, RoutedEventArgs e){     Task.Run(async () => { await AzureIoTHub.SendDeviceToCloudMessageAsync(); });}
Compile and Run the VS Project.
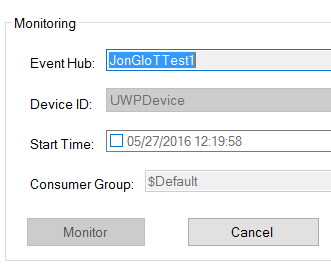
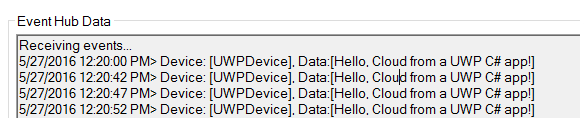
Open the Data tab in Device Explorer and click the Monitor button
When you click the Button in your UWP app, you’ll see data in the Device Explorer Data tab
When you want to send a message to the device, go to the Device Explorer, Messages To Devices tab, enter your message and click Send.
That should get you going with a very basic connection between a UWP and IoT Hub.
Jon