Local Azure Storage Development with Azurite, Azure SDKs, and Azure Storage Explorer
Azurite, the local cross-platform Azure Storage emulator, just released support for HTTPS and OAuth, making our local Azure Storage development story complete. You can now do all of your Azure Storage development on your local machine, saving you time and money during all of your tight inner-loop cycles. Prior to the Azurite v3.7.0 release, you could not use any Bearer Token based authentication mechanism like what is provided with Azure Identity’s DefaultAzureCredential, because it requires both HTTPS and OAuth. Now that Azurite supports both, we can new up a Storage client the same way regardless of whether we’re pointing to Azurite or Azure.
In this post, I’ll show you the tools we have available and how to get everything setup.
Here are the local dev Azure Storage tools we have available:
- Emulation: Azurite v3.7.0+: Cross-platform Azure Storage Emulator - a local process that adheres to the Azure Storage interfaces. Azurite V3 does not support Azure Tables yet. If you need Azure Tables, then use Azurite V2 or the Cosmos emulator. Table support in Azurite is coming soon. Follow along and contribute here: https://github.com/Azure/Azurite/projects/2
- Development: Azure SDKs: Cross-platform, multi-language libraries that talk to either Azurite or Azure. We’ll use the new DefaultAzureCredential, which under the covers, has a chain of credential options and with the latest preview, it will use your Azure CLI credentials.
- Management: Azure Storage Explorer: Cross-platform application that lets you view and manage Azure Storage with Azurite or Azure.
We’ll get to the nitty gritty details of getting everything setup in a minute. But in a nutshell, here’s what we’re going to do:
Local Certificate
- Create a local self-signed certificate
mkcert 127.0.0.1.pem
```markdown
## Azurite
1. Start Azurite with HTTPS and OAuth Support
```bash
azurite --oauth basic --cert 127.0.0.1.pem --key 127.0.0.1-key.pem
```csharp
## Azure SDK
1. Use Azure SDKs to connect to Azurite
You’ll notice here that we are using the Azurite HTTPS endpoint, and `DefaultAzureCredential()`, which automatically retrieves the appropriatly scoped Azure Storage token.
```csharp
var client = new BlobContainerCient( new Uri("https://127.0.0.1:10000/devstoreaccount1/container-name"), new DefaultAzureCredential());
```sql
## Azure Storage Explorer
1. Use Azure Storage Explorer to view the Azurite data

Now, let’s go through each step that you need to complete to get this all setup.
## Create an Azurite folder
Azurite needs a place to store its metadata and the data you send to it. You also need a place to store the certificate files we’ll create and it’s best they are in the same folder that you start Azurite.
1. Create a folder, I like to put my Azurite files in c:\\azurite
```bash
cd c:\mkdir azuritecd azurite
```sql
## Local Certificate Setup
You need a local self-signed certificate, which is super easy to create with [mkcert](https://github.com/FiloSottile/mkcert). You have other certificate options available and detailed instructions for those options can be found on the [Azurite installation page](https://github.com/Azure/Azurite#https-setup).
1. Install mkcert
The mkcert site has many [installation methods](https://github.com/FiloSottile/mkcert#installation), but I like [Chocolately](https://chocolatey.org/).
```bash
choco install mkcert
```text
1. Trust the mkcert RootCA.pem
This will add the RootCA created my mkcert to your Trusted Root Certificates.
```bash
mkcert -install
```sql
1. Create certificate
```bash
mkcert 127.0.0.1
```sql
This will create the certificates and output the following:
```bash
C:\azurite>mkcert 127.0.0.1Using the local CA at "C:\Users\Jon\AppData\Local\mkcert" ✨
Created a new certificate valid for the following names 📜
- "127.0.0.1"
The certificate is at "./127.0.0.1.pem" and the key at "./127.0.0.1-key.pem" ✅
```markdown
## Azurite Setup
1. Install Azurite
We’ll use npm here, but you have other options listed on the [Azurite install page](https://github.com/Azure/Azurite#getting-started).
```bash
npm install azurite
```text
1. Start Azurite
Run the `azurite` command and turn on OAuth with `--oauth basic` and turn on HTTPS with the `--cert` and `--key` options.
```bash
azurite --oauth basic --cert 127.0.0.1.pem --key 127.0.0.1-key.pem
```text
That will output the following:
```bash
Azurite Blob service is starting at https://127.0.0.1:10000Azurite Blob service is successfully listening at https://127.0.0.1:10000Azurite Queue service is starting at https://127.0.0.1:10001Azurite Queue service is successfully listening at https://127.0.0.1:10001
```yaml
Azurite is now running.
## Azure CLI Setup
To avoid having to create service principals for local development, we’ll install the Azure CLI and login.
1. Install the Azure CLI [https://aka.ms/azcliget](https://aka.ms/azcliget)2. Run `az login` to login to the Azure CLI.
NOTE: You’ll need to install the latest Azure Identity preview for Azure CLI authentication integratino with the Azure SDKs to work. See [https://aka.ms/azsdk/releases](https://aka.ms/azsdk/releases) for the latest SDK versions.
## Azure SDK Setup
Now, we’ll run some code that hits our Azurite HTTPS endpoints. All of the following code can be found here: [https://github.com/jongio/azure-storage-azurite-azuresdks-storage-explorer](https://github.com/jongio/azure-storage-azurite-azuresdks-storage-explorer)
NOTE: You will need the Azure Identity preview versions for this to work with Azure CLI Credentials, see [https://aka.ms/azsdk/releases](https://aka.ms/azsdk/releases) for the latest SDK versions.
```csharp
var blobHost = Environment.GetEnvironmentVariable("AZURE_STORAGE_BLOB_HOST"); // 127.0.0.1:10000var account = Environment.GetEnvironmentVariable("AZURE_STORAGE_ACCOUNT"); // devstoreaccount1var container = Environment.GetEnvironmentVariable("AZURE_STORAGE_CONTAINER");var emulator = account == "devstoreaccount1";var blobBaseUri = $"https://{(emulator ? $"{blobHost}/{account}" : $"{account}.{blobHost}")}/";var blobContainerUri = $"{blobBaseUri}{container}";
// Generate random string for blob content and file namevar content = Guid.NewGuid().ToString("n").Substring(0, 8);var file = $"{content}.txt";
// With container uri and DefaultAzureCredential// Since we are using the Azure Identity preview version, DefaultAzureCredential will use your Azure CLI token.var client = new BlobContainerClient(new Uri(blobContainerUri), new DefaultAzureCredential());
// Create containerawait client.CreateIfNotExistsAsync();
// Get content streamusing var stream = new MemoryStream(Encoding.ASCII.GetBytes(content));
// Upload blobawait client.UploadBlobAsync(file, stream);
```sql
When you run the above code, a blob will be added to the container, and when you move to production you just need to update the environment variables to point to Azure instead of Azurite.
## Azure Storage Explorer Setup
Now, we want to view the blob we just created. That’s easy with Storage Explorer, but we have to take an extra few steps to add the Azurite HTTPS endpoints.
1. Install Azure Storage Explorer
Go to the [Azure Storage Explorer](https://azure.microsoft.com/en-us/features/storage-explorer/) install page and install it.
1. Import SSL Certificate
We need to tell Azure Storage Explorer to use the mkcert RootCA.pem file.
Run this command to find the mkcert RootCA.pem file
```bash
mkcert -CAROOT
```text
Mine is located here:
```bash
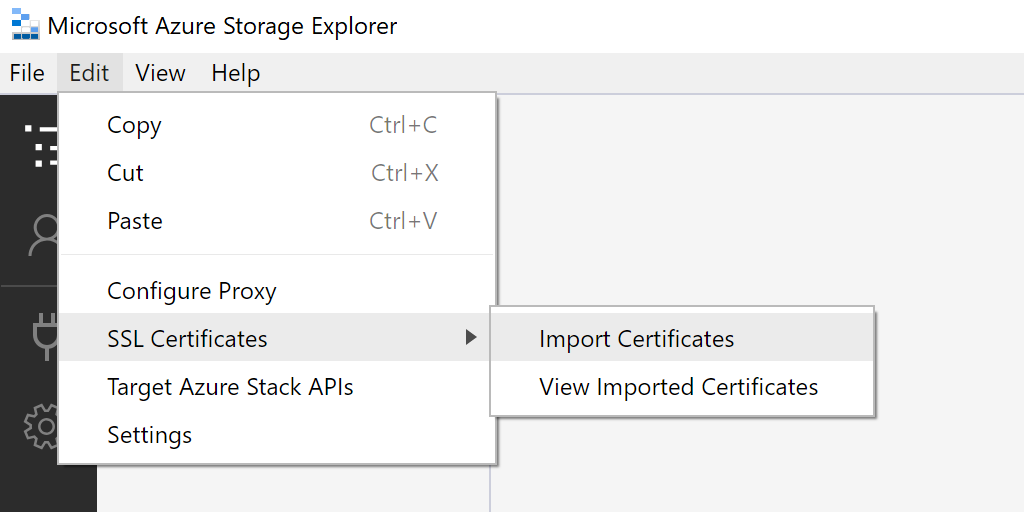
C:\Users\Jon\AppData\Local\mkcertIn Storage Explorer, select Edit -> SSL Certificates —> Import Certificates
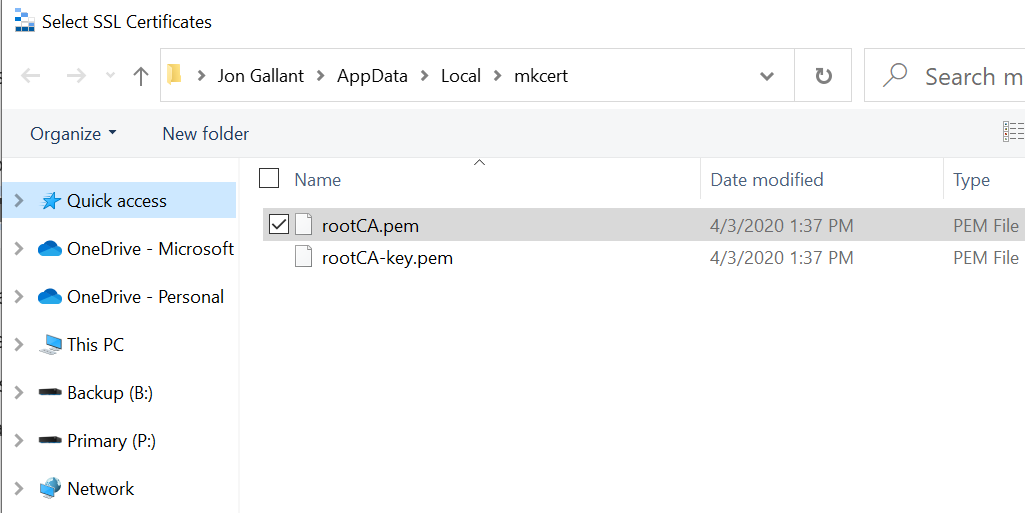
Find the mkcert RootCA file at the location you got from mkcert -CAROOT.
Restart Storage Explorer

- Add Azurite HTTPS Endpoint
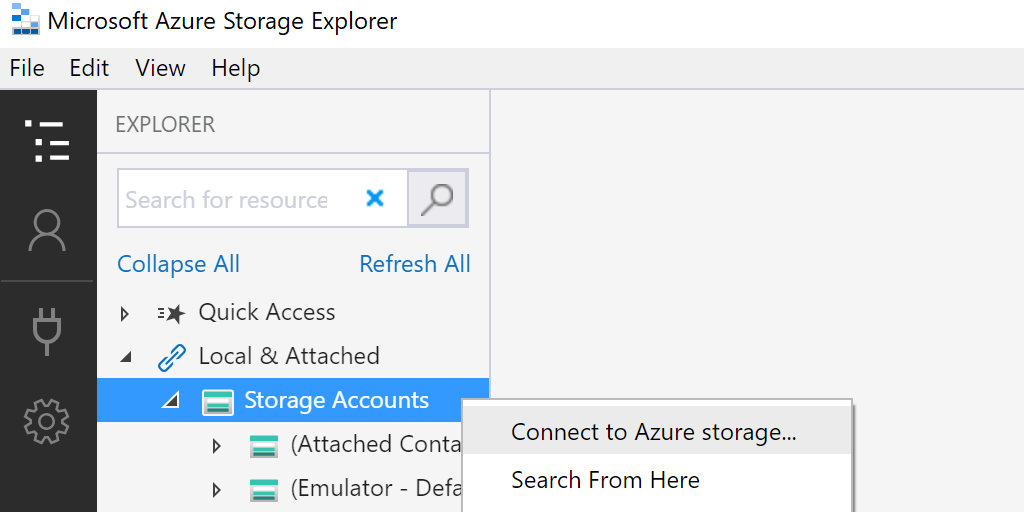
- In Storage Explorer, right-click on “Local & Attached -> Storage Accounts” and select “Connect to Azure Storage”
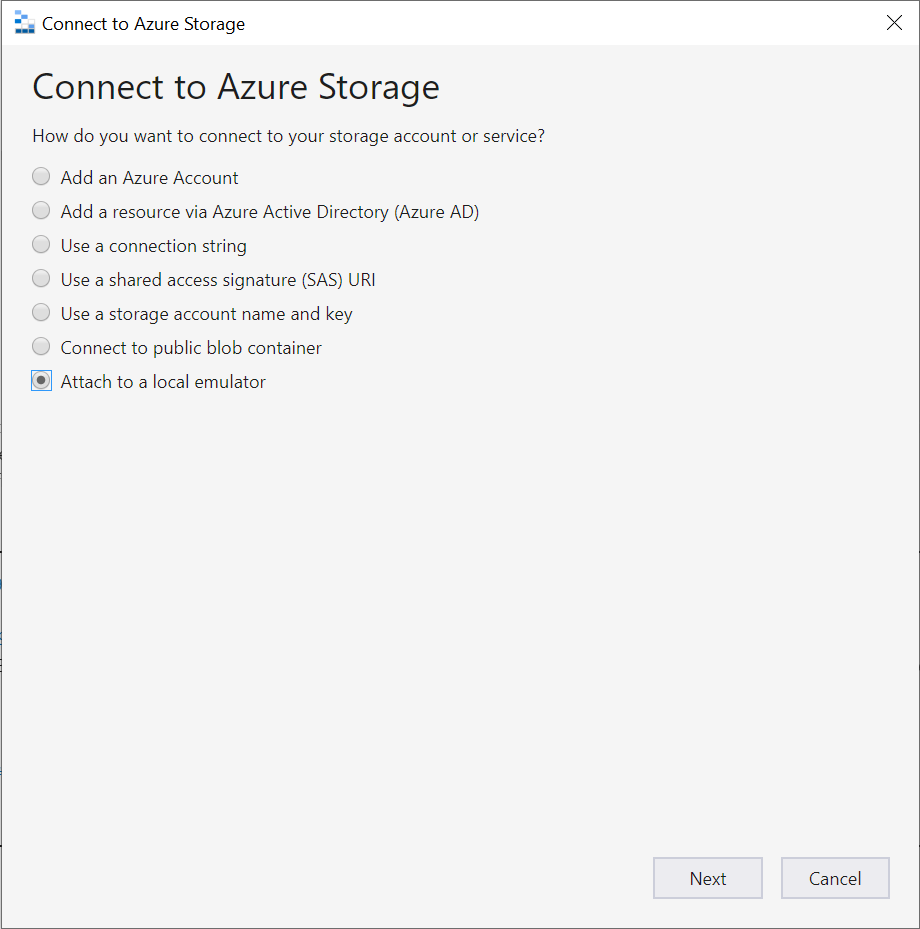
- Select “Attach to local emulator”
- Select “https” for Protocol and give it a name
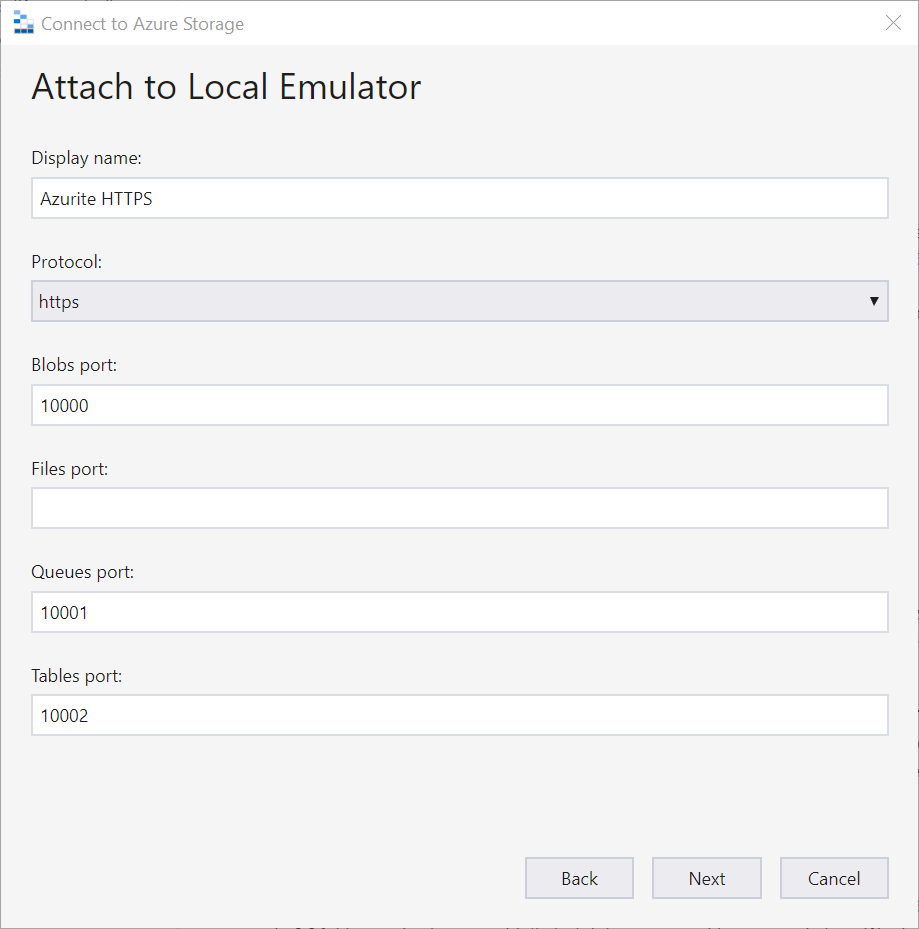
- Click Next and then click Connect.
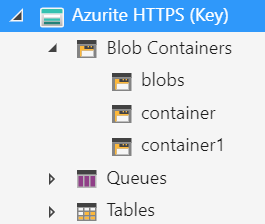
You will now see Azurite in your list of connections and when you expand it, you will see the container and blobs that you created.
Summary
In this post, we looked at all the local tools you need for a fast and free inner-loop Azure Storage dev cycle. We setup Azurite, used the Azure SDKs to create blobs, and viewed them with Azure Storage Explorer.
I hope this helps you out in your disconnected Azure dev exp.
Jon