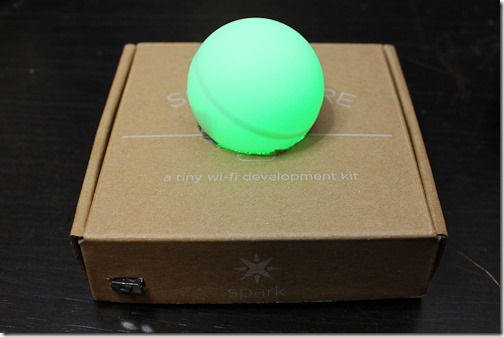
 Over the past couple of weeks I’ve been working on a Lync Status light called “beakn”. I joined the Windows IoT Maker team not too long ago and have been immersing myself in the Maker space – I’ve been constantly thinking about how to connect everything to the internet and thinking about ways to build products myself. beakn started with an idea of building a completely wireless Lync Status light that I could put anywhere. The concept is simple. It’s a small hardware device that has LEDs that change to the color of your current Lync status. Red, Yellow, Green. I want to be able to have one at home and one at work and would like to stick it on the outside of my office door so people can see my status as they walk by. To achieve that it needs to be wireless – no USB, no ethernet and no power cables. beakn v0.1 focused on getting it working with USB and Arduino and executed serial commands. beakn v0.2 focused on getting it working with ethernet and Arduino/Netduino. beakn v0.3 focused on getting it working with RaspberryPi, C# with Mono and with v0.4< I have achieved my goal of a completely wireless solution with Spark Core WiFi and batteries.
Even though I now work with a team of people who know hardware and the Maker space way better than I do, I resisted the temptation to ask them for too much help. I started with searching the internet and took it one step at a time. I started with Arduino because that is what I had heard of, then Netduino and RaspberryPi. It’s been fun getting exposed to all the different types of boards, but the Spark Core is BY FAR the best experience I have had on this project. For my simple scenario the user experience far exceeds what is provided by Arduino and RaspberryPi out of the box. Spark Core has plenty of pins to connect my LEDS and has WiFi that doesn’t require any extra libraries. (Arduino UNO requires a WiFi shield and WiFi glue code). Spark Core also has a very simple cloud api that allows me to communicate with my device via HTTP. With my other solution I had to rely on an MQTT server – which logically just adds another piece to be concerned about.
Aside: The WiFi network at Microsoft is WPA2-Enterprise which isn’t support by most of the micro-controller development boards, like RaspberryPi and Arduino. The Intel Edison was the only one that I found to support it. v0.4 will only work with the WiFi protocols that Spark Core supports, which is are simple home network security like WPA/WPA2 or WEP. See their troubleshooting guide if you run into issues. I developed this on my home network and will need to use a hotspot at work or switch to Edison.
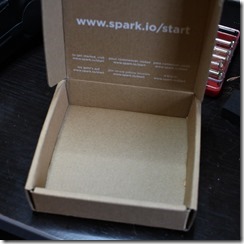
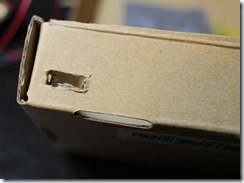
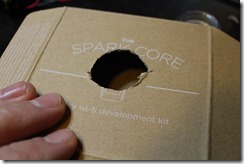
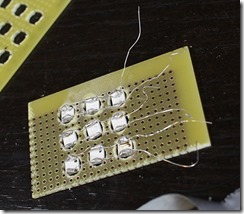
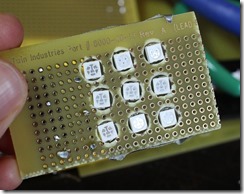
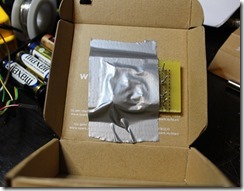
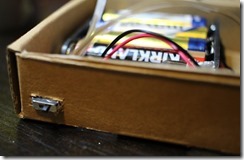
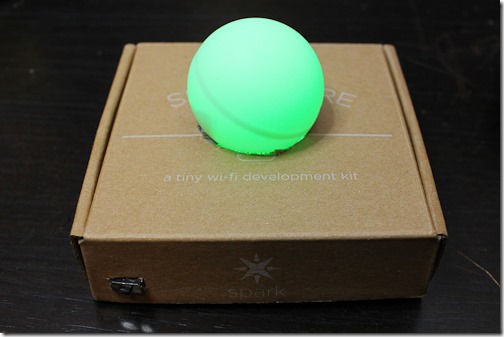
With v0.4 I also experimented with Surface Mount Device (SMD) LEDs and I added a power toggle switch. I still have the ping pong ball diffuser and an upgraded cardboard box. I switched it from the Intel Edison box to the Spark Core box. The Spark Core is tiny and my SMD LEDs are small so I could get away with a very small box.
Spark Core Board
The pictures speak for themselves. Super small and meets my needs. WiFi. GPIO pins. That’s all I need for this project.

Photon is also coming soon. It’s $19 and it will work for beakn too.

Spark IDE
The Spark Core development experience is AMAZING. It is all done in the browser. I used Chrome to write the code, build it and deploy it to the Spark Core. They also have a desktop IDE as well that is based on GitHub’s atom.
Here’s a screenshot showing the browser IDE.

Here’s the desktop IDE.

The other cool thing is that anyone can contribute libraries to Spark Core via GitHub. Check this out for more info. I contributed a “beakn” library so if you are building this then try searching the library for beakn and you should pull up the sample file.

I was truly impressed with Spark Core. From initial setup to the IDE to the cloud apis to the very small form factor…everything was just perfect. The best thing about it is that I feel inspired to development more and I feel like I can actually get some other project ideas quickly off the ground. Products like this should first and foremost “inspire people to create” and the Spark Core definitely did that for me.
WiFi
For WiFi I didn’t have to do much. I just went through the Spark Core getting started guide and connected my Spark Core to my WiFi using the iPhone app. No libraries to import. It just works.
Lights
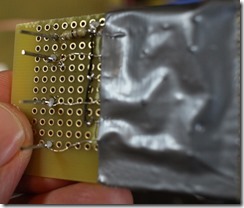
For SMD LEDs I have to admit that I asked someone on the team how to do solder them and he gave me a good lesson. I experimented a bunch with different ways to get them to attach to the protoboard and run wires to pins. With my first version I attached small pieces of wire wrapping wire to each LED, but with the second version I ran a single wire down each side. I reduced the resistance as well; I went from a 220ohm resistor to a 47ohm resistor. I’m not 100% sure that value is right, but it’s what an online ohms law calculator gave me – 3.3v and 20ma per LED.
If you aren’t comfortable with SMD LEDs then I recommend going with any of the designs from v0.1, v0.2 or v0.3 which use 10mm big LEDs. Either option will work just fine.
Diffuser
I get a lot of compliments about using a ping pong ball, but of course that won’t be in the final product. This round I experimented with a clear plastic diffuser, but wasn’t happy with the results so I went back to the ping pong ball.
Power
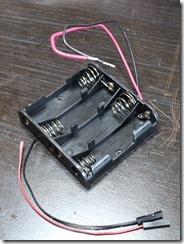
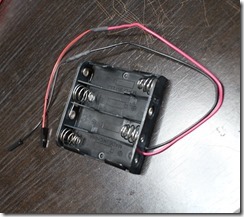
My goal of developing a wireless device means it needs to run on battery. The Spark Core runs on 3.3V DC and needs an Input voltage of 3.6 to 6.0 volts. On this page they recommend a 3.6V LiPo or 4AAs. I had the 4AA battery case so that is what I went with.
Since the beakn is now battery powered I threw a toggle switch in the circuit as well.
Build the beakn Hardware
Parts – You will need the following to build beakn v0.4
- Spark Core – $39
- Ping pong ball
- Small Cardboard box
- Duct Tape
- 4x AA Batteries & 4AABattery Holder
- ToggleSwitch – I used the one that came with the Spark Core maker kit
- Small LED Route – Requires soldering
- WireWrapping Wire – To connect LEDs on PCB to pins
- 4x .1" PitchHeaders – To connect LEDs to Spark Core
- 4x Female to Female Jumper Wires – To connect LEDs to Spark Core
- 2x Male to Female Jumper Wires – To connect Toggle Switch
- Prototyping Board
- Tweezers
- Wire Cutters/Strippers
- Heat Shrink
- Soldering Iron
- Solder
- Heat gun or hair dryer – To shrink the heat shrink
- Drill
- 1/4" Drill Bit* Big LED Route – Doesn’t require soldering
The Box
1. Get a clean box by removing any extra cardboard that is inside it.
2. Cut a hole in the front for the toggle switch.
3. Cut a hold in the top for the lights.
The Ball
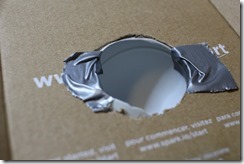
Cut a hole in the bottom of the ping pong ball and duct tape it to the hole in the top of the box.
The SMD LED Array
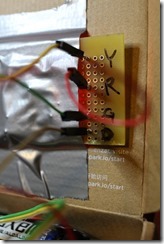
1. Drill a 3x3 grid into the Prototyping board to hold the LEDs in place. You are going to run wire to connect the negative and positive terminals so make sure all the sides are the same. Negative on right, positive on left for all of them. The negative side has a little notch in the corner.
2. Dab a very small amount of solder to connect all three leads of each side.
3. Lay a piece of wire wrapping wire across the negative side and solder in place. Do the same for positive and do for all 9 LEDs.
4. Connect all of the negative wires together with a 47ohm resistor and solder to a header. Be sure to keep the insulation on the wire because the positive wires will run on top of them.
5. Connect each positive wire of each row of LEDs to a header pin.
6. Duct tape the board to the top of the box.
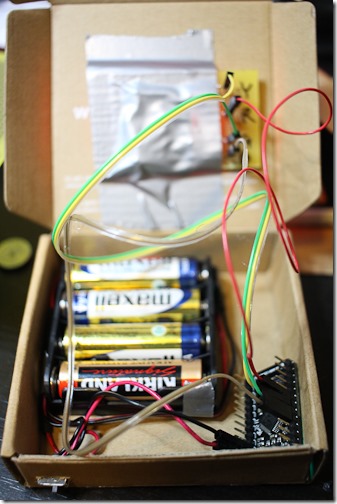
7. Use the female to female wires to connect the headers to the Spark Core
- Red: D5
- Yellow: D6
- Green: D7
- Ground: GND
The Batteries and Toggle Switch
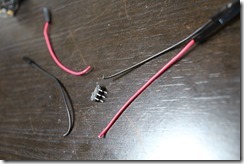
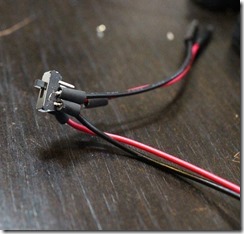
Your battery holder likely came with tinned ends. Cut the 2x male to female jumper wires and solder the switch in between them. This page was helpful when researching toggle switch wiring.
Connect the red wire to Spark Core VIN and the black wire to Spark Core GND.
Put the batteries in the battery holder and you should see the Spark Core start up.
The final product
Install the beakn Desktop Application
The beakn desktop application runs in the background and listens for Lync status changes. When that occurs it issues an HTTP request to the Spark Cloud API to tell the device what color to show. I found this VERY helpful library called SharpSpark. It was super easy to use – I’ve asked them to put on nuget, but for now you have to get the code and build it locally.
To install the desktop app you can:
1. Get the source, build it and run it: https://github.com/jongio/beakn/tree/master/desktop
2. Install via the v0.4 MSI: https://github.com/jongio/beakn/releases/download/v0.4/beakn.v0.4.msi
After you install it you are going to need to modify the config to use your Spark Core keys.
1. If beakn.exe is running you’ll need to stop it.
2. Open a CMD prompt as Admin and open beakn.exe.config in notepad.
3. Change the Protocol setting to “SparkCore”
4. Change the AccessToken and DeviceId to the IDs you get from Spark.io
<add key="SparkCoreAccessToken" value=""/> // [http://spark.io](http://spark.io) – click on settings in lower left
 <add key="SparkCoreDeviceId" value=""/> // [http://spark.io](http://spark.io) – click on cores in lower left, select your core
5. Save it.
6. Double-click on beakn.exe to restart it.
Install the Spark Core beakn Code
This is the code that sits on your Spark Core. It is going to set the appropriate LED color. You will notice that there is a call to “Spark.function(“setStatus”, setStatus);” That is a method included in the Spark Core development experience. It sets up the setStatus function as a function that can be called via HTTP with their Cloud API. Amazingly simple. This functionality was much more code in my previous versions because I had to talk to MQTT servers directly.
You can get the code in two ways:
1. Search the Spark libraries for “beakn”. http://spark.io, Libraries, search for beakn. Directly use the beakn-sparkcore.ino example file.
2. Go to the beakn-sparkcore GitHub repository and copy the code to the Spark Core IDE and deploy to your device. https://raw.githubusercontent.com/jongio/beakn-sparkcore/master/firmware/examples/beakn-sparkcore.ino
Fire it up
Turn on your beakn using your toggle switch. It will flash red, yellow and then green when it starts up. After that you’ll need to change your Lync status to get it initialized. (I’m researching ways to automatically pull the latest status – for now just toggle).
This version was definitely more involved than the others. The SMD LEDs and custom protoboard made it fun, but also more challenging. I had a blast building it. I look forward to seeing what you do with it.
Jon
