1. Plug Photon into laptop via USB
1a. Go ahead and install the Particle Photon driver now: https://particle.io
2. Put Photon into DFU mode.
a) Hold down both Setup and Reset buttons
b) Release the Reset button (Keep Setup Button pressed)
c) Let go of the setup button when it flashes yellow. The Photon will keep flashing yellow when it is in DFU mode.
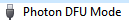
You will see the Photon in DFU mode in Device Manager
4. Download and unzip all the tar files in dfu-util using 7-zip. Add the win32-mingw32 folder to your PATH environment variable.
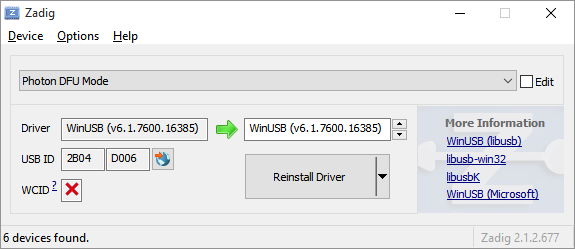
5. Install Zadig and install WinUSB to your Photon.
6. Download the following files to your local machine:
https://github.com/spark/firmware/releases/download/v0.4.7/system-part1-0.4.7-photon.bin
https://github.com/spark/firmware/releases/download/v0.4.7/system-part2-0.4.7-photon.bin
There’s a good chance the firmware will have updated since the time this post was created, so just modify the version number above 0.4.7 with the firmware version you want to flash.
7. Download this photonflash.cmd (right-click, Save Target as…) file to the same folder you have the bin files from the previous step. There’s a good chance that Particle has a released a new version of the firmware before I have a chance to update my script. Feel free to check this url for the latest: https://github.com/spark/firmware/releases This post uses 0.4.7
8. Open a Command prompt. Navigate to the folder you put the photonflash.cmd file in and execute it.
Your output will look something like this:
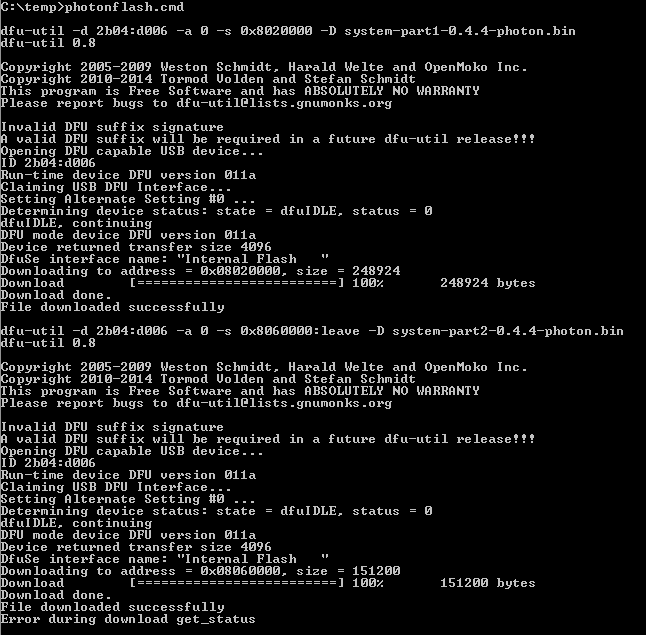
And your Photon should restart and start flashing blue or green.
If you haven’t done so already now would be a good time to also install the Photon Windows Driver
Hope this helps you out!
Jon